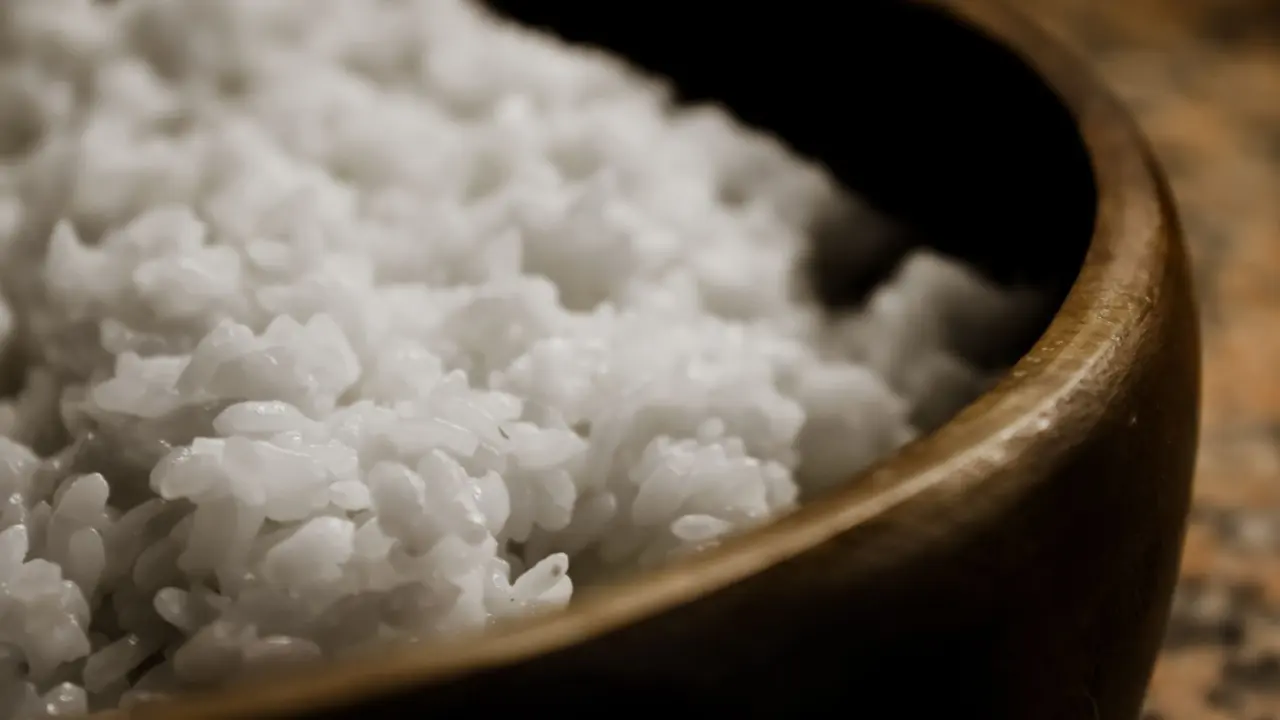
Here is how to cook rice on the stove: simmer 1 cup white rice in 2 cups water, covered, until the water is absorbed, then rest it. Brown rice needs 2 1/4 cups water per cup and a much longer simmer.
Rice is a core skill in home cooking basics for beginners. Pasta and eggs follow different rules, so see how to cook pasta perfectly and how to cook eggs for those.
What to have ready
You need very little equipment, but the pot and the rice type decide how the next steps go. Settle both before you measure anything.
- A heavy-bottomed pot with a lid. Just One Cookbook explains that the even heat distribution of a heavy-bottomed pot keeps the bottom layer of rice from burning easily. Every method below is covered, so the lid matters as much as the pot.
- One measuring cup for both rice and water. The ratios in this guide are by volume, so the cup itself does not matter as long as you use the same one for the rice and for the water.
- A rice type chosen in advance. White rice, which the Minimalist Baker tutorial applies to basmati and jasmine, and brown rice use different amounts of water and different times. Brown rice is the slow one: Food Hero lists 45 to 55 minutes of total cook time, so start it first if it is part of a larger meal.
Cooking rice on the stove, step by step
The sequence is the same for every rice: measure, rinse where the method calls for it, bring to a boil, simmer covered, then rest. What changes is the water and the time, which the table in the next section sets out.
Step 1: Measure the rice and the water by volume
Level out your rice in the cup, tip it into the pot, then measure the water with the same cup. Match your rice to its row in the ratio table below before pouring. White rice, including basmati and jasmine, takes less water per cup than brown rice, and Japanese short-grain rice takes much less than either.
Step 2: Rinse until the water clears
Should you rinse rice? For Japanese short-grain rice, yes. Just One Cookbook washes it in cold running tap water and never uses warm or hot water. After the first wash it rinses one to two more times until the water is almost clear. It also warns against a metal strainer for washing, because the strainer can break the rice. For other rice, rinse the same way if your package or recipe asks for it.
Step 3: Soak short-grain rice if your method calls for it
Just One Cookbook gives short-grain rice a head start by soaking it for at least 20-30 minutes before cooking. Treat soaking as a short-grain step, and skip it for white or brown rice unless your recipe asks for it.
Step 4: Bring to a boil, then drop to a simmer and cover
Put the rice and water over high heat. For white rice, Minimalist Baker says to lower the heat to a simmer and cover once the water is boiling. Check that the pot is simmering rather than boiling, or the rice can cook too quickly. Brown rice follows the same pattern: Food Hero reduces the heat to low, covers the pan and simmers.
Step 5: Simmer until the water is gone and the grains are tender
Use the time in the table as a guide, but judge by the rice. The white rice method simmers until the water is completely absorbed and the rice is tender. Because the time range depends on the size and freshness of the rice, the pot tells you more than the clock does.
Step 6: Rest, then fluff
Resting is part of the cooking, not an optional extra. For white rice, fluff it, put the lid back on and let it rest so the moisture redistributes. For brown rice, turn off the heat and let the pan stand before serving. Short-grain rice rests covered and is fluffed afterwards. Rest lengths are in the table and the short-grain notes below.
Water ratios and cook times by rice type
The most useful number in rice cooking is the water ratio, and it differs more between rice types than most people expect. White rice, brown rice and Japanese short-grain rice all sit at different points, so use the row for the rice in your pot rather than a single rule.
| Rice type | Water per 1 cup dry rice | Simmer, covered | Rest | Planning use |
|---|---|---|---|---|
| White rice, including basmati and jasmine | 2 cups | About 15-25 minutes, depending on size and freshness of rice | 10 minutes after fluffing, lid back on | Start tasting at the shorter end of the range, and use the rest to finish the texture. |
| Brown rice | 2 1/4 cups | 35 to 40 minutes on low | 5 to 10 minutes off the heat | The long cook time means it should go on the stove before everything else in the meal. |
White rice figures come from Minimalist Baker’s white rice tutorial, and brown rice figures from Food Hero’s stovetop brown rice recipe.
Basmati and jasmine share the white rice row, so you do not need separate ratios for them. If you are choosing between white and brown, the practical difference is the extra water and the much longer simmer that brown rice takes.
Japanese short-grain rice
Short-grain rice takes far less water per cup. Just One Cookbook gives its golden rule as 1:1.1 or 1.2 rice to water by volume, which works out in US cups as 1 cup (240 ml) of rice to 1⅛ cups (264 ml) of water. After the pot comes to a boil, it turns the heat to low and cooks covered for 12–13 minutes, then rests the rice for 10 minutes to steam fully before fluffing.
Do not use the white rice ratio for short-grain rice. Doing so adds far more water than this method calls for.
Troubleshooting gummy, mushy and crunchy rice
Most failed rice comes down to water, heat or skipping the rest. Work through the causes below in that order before changing anything else.
Why is my rice mushy?
Start with the rest. Minimalist Baker rests white rice for 10 minutes after fluffing so the moisture redistributes and the rice does not turn mushy, and Food Hero stands brown rice off the heat for 5 to 10 minutes before serving. Serving straight from the boil skips that step.
Next, check the heat. White rice should be at a simmer, not a boil, because boiling can cook it too quickly. Finally, check the type of rice. Just One Cookbook notes that short-grain rice has less amylose, the starch that separates rice grains, than long-grain varieties. This gives it a stickier, chewier texture, so a clingy result may simply be how that rice behaves.
Why is my rice crunchy or firm?
Firm rice is usually a timing problem. The white rice range is about 15-25 minutes depending on the size and freshness of the grains, so judge it by whether the water is absorbed and the grains are tender, not by the first number in the range. Brown rice needs 35 to 40 minutes of simmering, so applying a white rice timing to it will leave it short. If you are cooking short-grain rice, remember that the soak of at least 20-30 minutes is part of how that method gets the grains tender.
How do I stop the bottom from burning?
Use a heavy-bottomed pot, and keep the simmer gentle. A heavy base spreads the heat evenly, which Just One Cookbook credits with preventing the bottom of the rice from easily burning.
Frequently asked questions
Can I use my rice cooker cup to measure rice for the stove?
Only if you use it for both the rice and the water, and keep the ratio for your rice type. A rice cooker cup is 180 ml, about ¾ of a US cup, according to Just One Cookbook. For Japanese short-grain rice it pairs 1 rice cooker cup of rice with 200 ml of water.
Is stovetop rice worth learning if I own a rice cooker?
Yes. The same source describes the stovetop method as a backup in case your rice cooker breaks unexpectedly. It also covers white and brown rice, which each have their own stovetop method in this guide.
How much cooked rice does a cup of dry rice make?
The white rice recipe in Minimalist Baker’s tutorial, made as written with 1 cup of rice and 2 cups of water, yields about 2 cups of cooked rice. Use that as a rough guide when planning portions.